Investing in a smart thermostat could save you money and make your life more convenient. Today’s smart thermostats are capable of doing some incredible things – like artificially learning your routine before modifying its own programming. But before you can enjoy all of a smart thermostat’s bells and whistles, you have to install it.
Vivint Home Security recently published a comprehensive guide to the smart thermostat installation.
One of their first recommendations was to opt for professional installation if possible. You might want to read the guide if you’re thinking about installing a smart thermostat yourself.
Assuming that’s the case, there are some key things you should know before you get started:
1. HVAC Systems Are Low Voltage
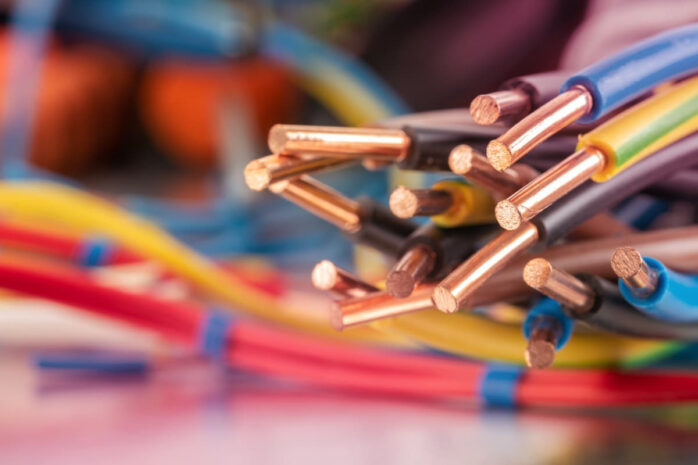
The starting point for DIY installation is understanding that most HVAC systems are low-voltage systems operating on just 24 volts. The wiring on your new smart thermostat doesn’t connect directly to your home’s electrical system. Rather, it connects to the HVAC system’s control board.
Ensuring compatibility between a 24-volt HVAC system and a home’s 120-volt line system is a transformer. Typical heating-only systems utilize just 2-3 wires for operation. Systems with both heating and cooling need 4-5 wires. Finally, HVAC systems with heat pumps could require 7 wires or more.

2. System Compatibility Matters
The next thing to know is that system compatibility matters. Although most smart thermostats work with most heating and cooling systems, there are exceptions. It’s important to ensure that any smart thermostat you invest in is compatible with your HVAC system.
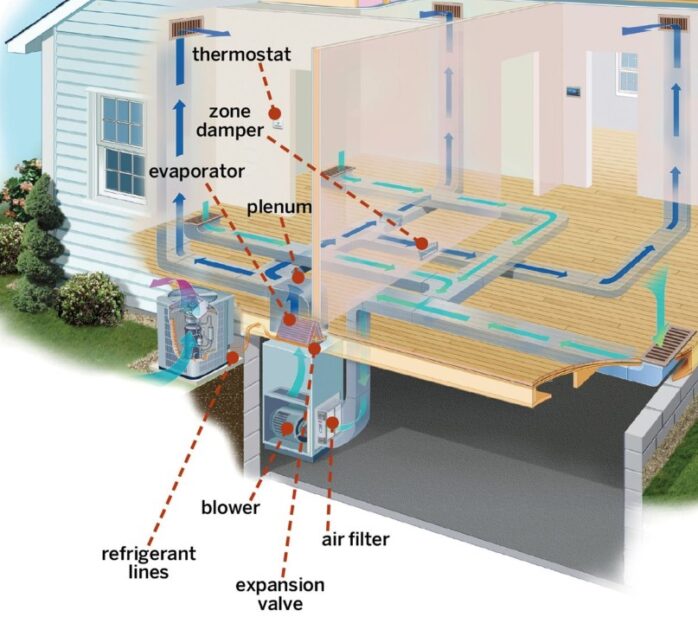
For all intents and purposes, there are four types of systems utilized in this country:
- Heating-only – A heating-only system relies on a furnace or boiler to provide heat during cold weather. Heating-only systems are common in northern states.
- Cooling-only – A cooling-only system is just the opposite. It offers only air conditioning. There is no furnace, boiler, or heat pump attached.
- Heating and cooling – A heating and cooling system combines air conditioning with a furnace or boiler. Don’t confuse this sort of system with a heat pump.
- Heat pump – Despite the name, a heat pump provides both heating and cooling by either adding or removing warm air. Heat pumps are specialized devices that require specific thermostat wiring.
Smart thermostats tend to have color-coded wires for heat pump operation. They would typically be orange and/or light blue. However, colors can vary by manufacture and design. Be very careful when connecting a smart thermostat to a heat pump.
3. Wire Colors Matter
Speaking of color-coded wires on thermostats, rest assured that the colors matter. The colors are assigned to help make installation easier. Unfortunately, wire colors don’t always match up wire-for-wire.
When installing a smart thermostat, it is a very good idea to study the old thermostat before disconnecting the wires. A thermostat with labeled terminals makes life a lot easier. For example, the ‘G’ terminal should be the fan terminal. Connecting the green wire to it is normally the right way to go.
It’s also helpful to label the wires before you disconnect the old thermostat. Get some masking tape, write the terminal designations on individual pieces, and then attach the pieces to their corresponding wires.
Also, note that some thermostat manufacturers provide compatibility apps. You can enter the wiring configuration of your old thermostat (by color) and let the app decide if the new thermostat is compatible. It might even provide you with an updated wiring diagram to help you make the right connections.

4. You Should Always Turn Off the Power
The most important step BEFORE beginning installation is to turn off the power. Never try to install a smart thermostat with power to the HVAC system. Otherwise, you risk hurting yourself and/or damaging your equipment.
Turning off the power is simple enough. Just go to the panel box and locate the appropriate circuit breaker. Switch it off. Leave it off until the new thermostat is fully connected and ready to go.
In the unlikely event that flipping the circuit breaker turns off power in other parts of your home, you can probably still switch off the AC by locating its main power switch, located either on the unit or nearby. It should look just like a light switch. Flip the switch off before you begin the installation.
5. Connecting to Your Home Network
Everything discussed thus far has dealt with installing a smart thermostat from an electrical standpoint. But once it’s installed and powered up, there is still the matter of connecting a two-year home network. This shouldn’t be difficult, but it’s necessary to enjoy all of the smart features the device offers.
Your major brands of smart thermostats will connect wirelessly via Wi-Fi. Bluetooth is out of the question because you don’t get the necessary range. Zigbee and Z-Wave are two additional possibilities for wireless protocols.

Controlling With an App or Hub
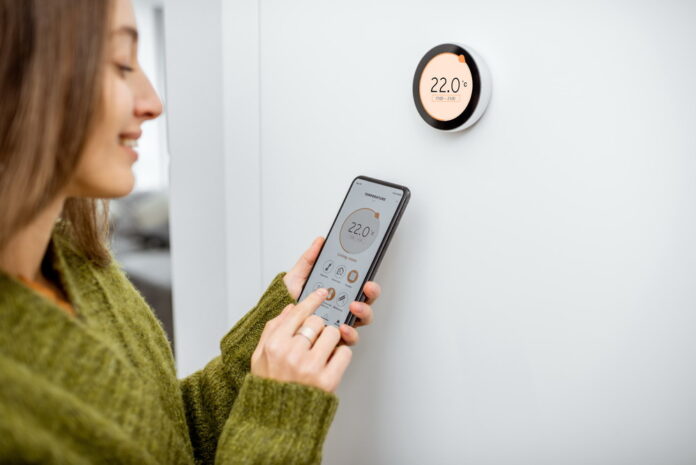
Last but not least is controlling your new smart thermostat. It’s done with either a mobile app or a smart home hub. My advice is to figure out your preference before you buy a thermostat so that you can guarantee compatibility.
If you’re fine running all of your smart home devices using individual apps, go ahead and buy whatever you think is best. But if you prefer to use a centralized hub, you must make sure that the thermostat you choose is compatible with your hub.
Vivint Smart Home provides hubs that work with their equipment out of the box. Any smart thermostat they support should work with their hub. Brand-name smart speakers, like Google Home and Amazon Echo can act as smart home hubs for any equipment that supports them. Lastly, you can choose to use an open-source smart home platform like Home Assistant.
A smart thermostat could be a great addition to your modern home. Whether you choose professional installation or DIY, just be sure to do your homework first. There’s a lot to learn about smart technology.


